
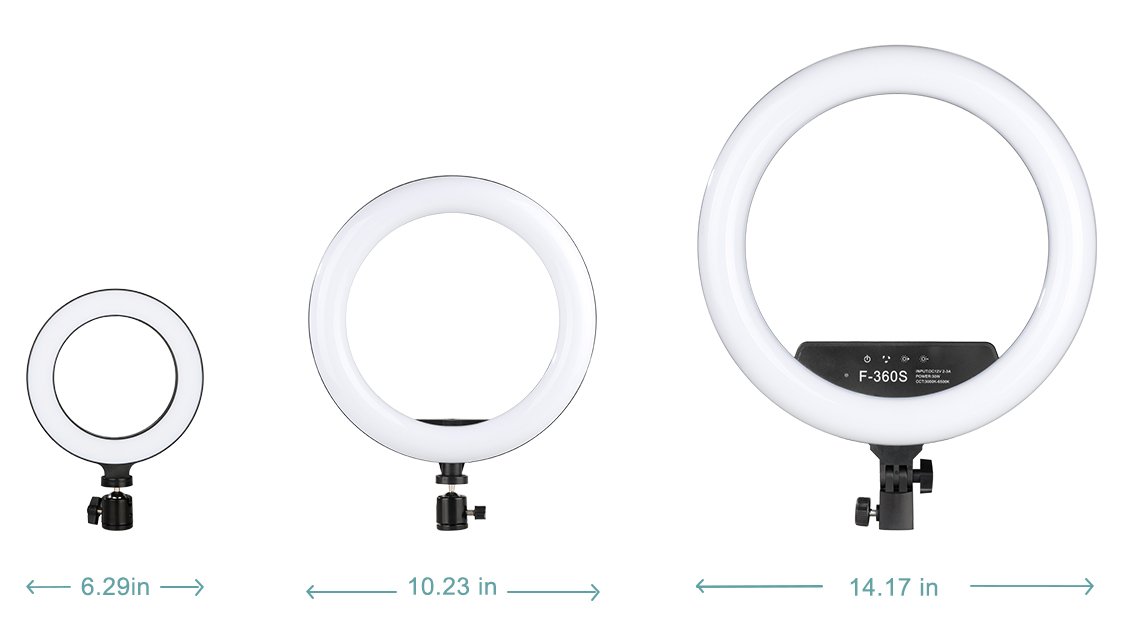
Did you know that the way you use the ring light will determine the quality of lighting in your video?
Most often, vloggers don’t put much thought into the way lighting equipment needs to be placed, angled, and brightened/dimmed for their videos. They use the same light settings at all times of the day and with all backdrops. This is actually such a rookie mistake.
For your ring light to yield brilliant results, we wanted to share with you our top 10 tips when using your ring light.
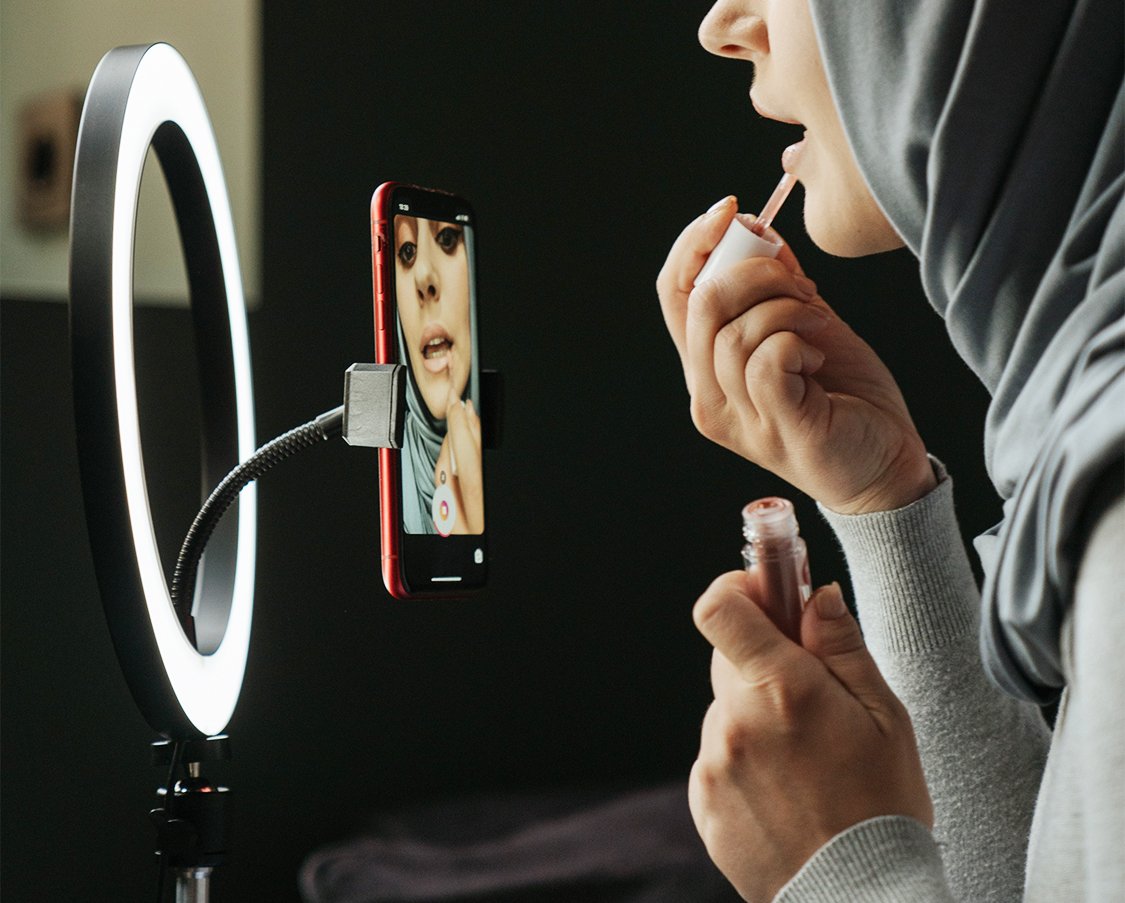
Position the ring light directly in front of your face
A lot of vloggers make the mistake of positioning the light at an angle from where they stand. When you do this, the light only illuminates your face partially.
Instead, you need to place the ring light directly in front of your face. Doing so ensures that your entire face is illuminated, and no shadows are covering your face.
Make sure that the tripod is adjusted to your height, and the lens is pointed towards your face. If the lens shines from above or below your face, the quality of the video will be diminished because of the presence of shadows and glares.
Experiment with the colors and brightness
Videos that have a static colored background can look very boring. Videos become share-worthy only when they’re eye-catching and engaging. One way to make them so is to use different lighting colors.
If your ring light has a set of brightness-adjustable and color-adjustable lenses, use them.
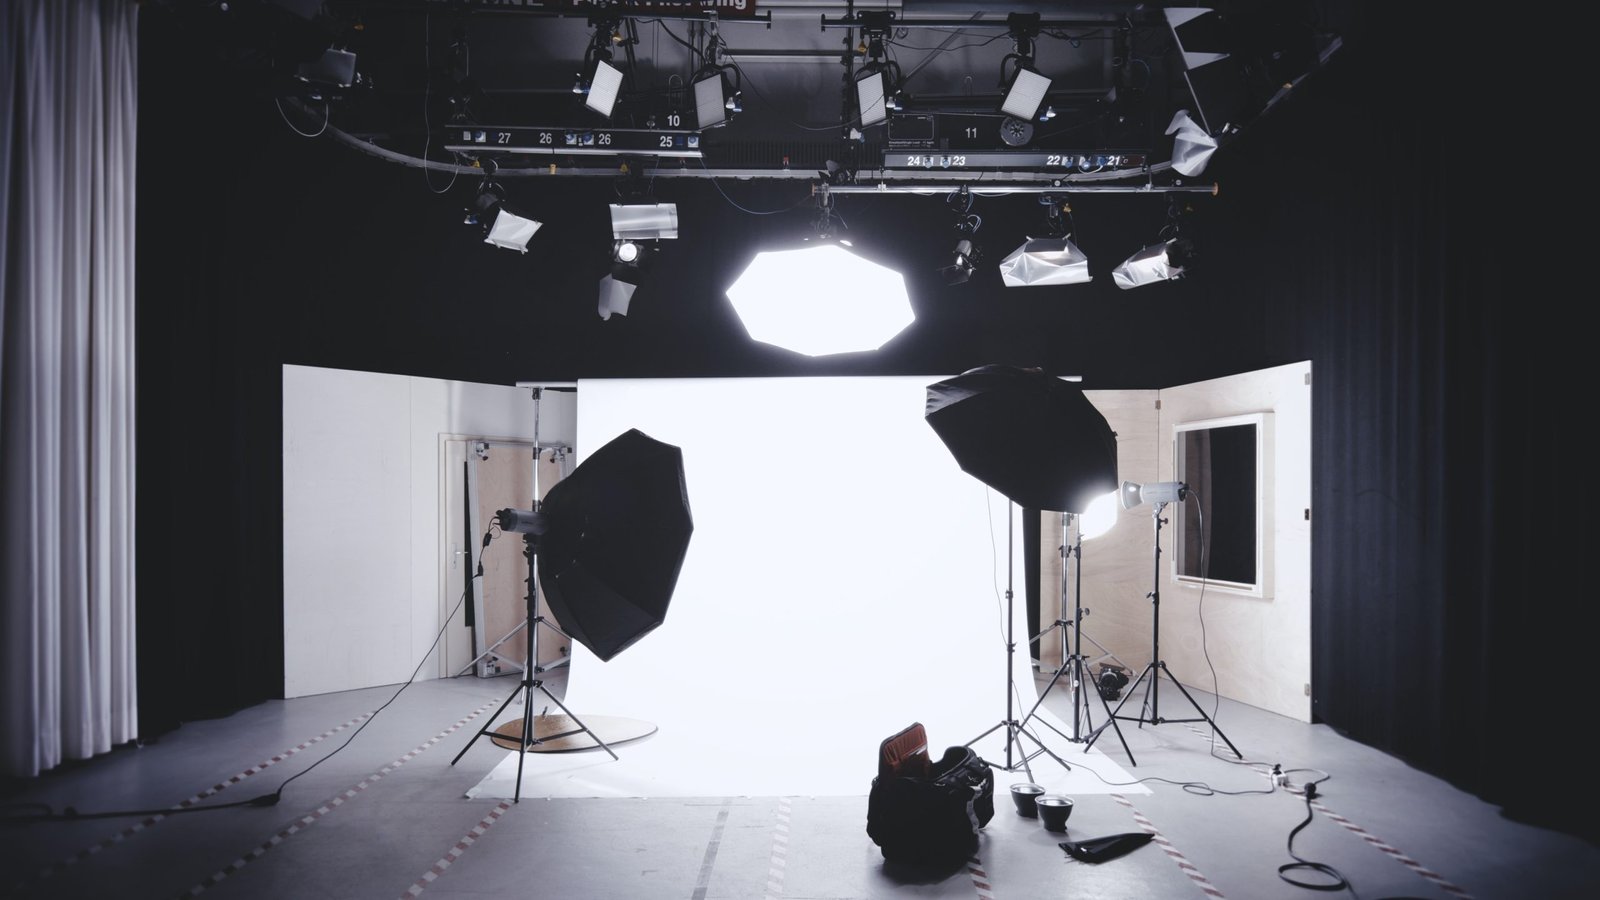
Use softboxes to better diffuse the light from your ring light
Softboxes are another video/photography equipment that helps diffuse the light from your lighting equipment, in a more natural and even manner. It can make your video look friendlier by making it softer and more pleasing to the eyes. Additionally, softboxes are great if you’re shooting in a location that is windy – they aren’t as hard to manage as an umbrella light.
Place the softbox closer to yourself or your subject, to make your ring light appear more like natural light. There should be two softboxes – one on either side of the subject and the ring light must be placed in between the two softboxes.
Use brighter colored dresses/items when shooting the videos
The ring light – just like any other light – will slightly mute the colors of the dresses you wear or the items you use. To ensure your video comes out as intended, go brighter in your choices.
For example, if you want to shoot a video wearing a red dress, choose maroons or scarlets instead of corals.
Use the orange filter if you want to give a warm tone to the surroundings
Sometimes the surroundings may look “too cold”. Or maybe, your subject’s skin is looking too dull. In this case, you can salvage the shot by using the orange filter.
Most ring light kits come with both white and orange filters. While the white filter will make your video lighter, the orange filter will add a warm glow to the video and make it warmer.
Place another ring light behind you or above you to add depth to your video
While the ring light in front of you illuminates your face in a beautiful way, adding another ring light to the equation will add greater depth to the video.
A ring light above your head will illuminate your hair and make the video more aesthetic to look at. A ring light placed 2-3 feet behind you will separate you from your surroundings and act as a spotlight from the background.
Lift the ring light higher if there’s too much glare from the sun
Although your new ring light is designed to eliminate glare, it still can’t control the sun. Sunlight may create glare during the shooting and may ruin the quality of your video.
To overcome this hurdle, bring up the ring light to a slightly raised position. The lens should be facing you but at a slightly downward angle. In fact, it is this angle of the lens that prevents the sun’s rays from creating a glare in your video.
Set the right light balance on your phone
A ring light can only do so much. You also need to make your phone is video-ready. Be sure to make the light balance settings on your phone compatible with the ring light lighting. This will preserve the aesthetics of your video, and there won’t be strange blotches of color on your video.
Do a pre-shoot of your video using different lighting conditions
As a rule, don’t shoot your entire video immediately after setting up your ring light. Always check the lighting using different positions and angles, by shooting a minute or two under each lighting condition.
Doing so will help you take the steps necessary to ensure that your video isn’t underexposed overexposed or colored in a strange light.
With these tips and tricks, you will be more than ready to look bright and eye-catching in all of your videos!