
How to Set Up Your Action Camera Mount in 5 Easy Steps
Setting up your action camera mount can be a breeze if you know the right steps. Whether you're capturing epic mountain biking adventures, surfing the waves, or just documenting a fun day out with friends, having your action camera securely mounted is crucial. In this guide, we'll walk you through the process of setting up your action camera mount in just five easy steps. Let's get started!
Step 1: Choose the Right Mount for Your Activity
Before you even start setting up your action camera, it's important to choose the right mount for your activity. Think about what you'll be doing and where you want to place your camera. For example, if you're going on a bike ride, a handlebar mount might be perfect. If you're hitting the slopes, a helmet mount could be the way to go.
Popular Mounts and Their Uses
- Handlebar Mount: Great for bikes, motorcycles, and ATVs.
- Helmet Mount: Ideal for skiing, snowboarding, and skydiving.
- Chest Mount: Perfect for hiking, running, and other outdoor activities.
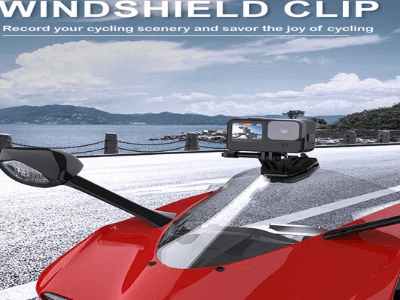
- Suction Cup Mount: Useful for cars, boats, and other smooth surfaces.
- Tripod Mount: Best for stable, stationary shots.
Think about the kind of footage you want to capture and choose a mount that will give you the best angle and stability. For instance, if you're planning to record a scenic drive, a suction cup mount on your car’s windshield will provide a steady, wide-angle view.
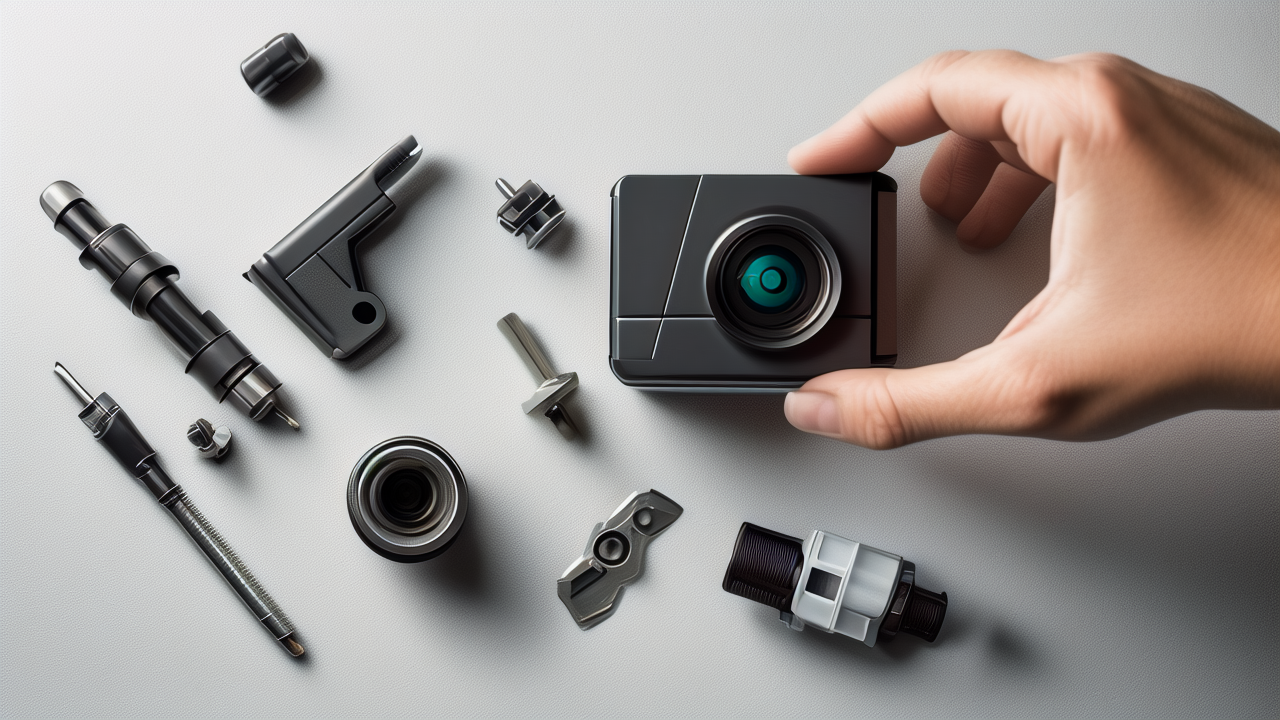
Step 2: Gather Your Tools and Accessories
Once you've chosen the right mount, it's time to gather all the necessary tools and accessories. Most action cameras come with a basic set of mounts, but you might need additional items depending on your specific needs. Here’s a list of things you might need:
- Action camera
- Mount (handlebar, helmet, chest, suction cup, etc.)
- Adhesive mounts (if needed)
- Screwdriver (usually included with the camera)
- Extra batteries and memory cards
- Cleaning cloth
Having everything ready before you start will save you time and make the setup process smoother. It's also a good idea to check if your camera and mount are clean and free from dust or debris. A quick wipe with a cleaning cloth can make a big difference.
Step 3: Attach the Mount to Your Surface
Now comes the fun part—attaching the mount to your chosen surface. The method will vary depending on the type of mount you’re using. Let’s break it down:
Handlebar Mount
- Position the mount: Place the mount on the handlebar where you want the camera to sit.
- Tighten the screws: Use the screwdriver to tighten the screws until the mount is secure. Make sure it doesn’t wobble or move around.
- Test the stability: Give the mount a gentle shake to ensure it’s firmly attached. You don’t want your camera falling off mid-ride!
Helmet Mount
- Clean the surface: Wipe the area on your helmet where you plan to attach the mount.
- Apply adhesive: If your mount uses adhesive, follow the instructions to apply it. Press firmly to ensure a strong bond.
- Attach the mount: Snap the mount into place and adjust it to your desired angle.
- Test the fit: Put on your helmet and move your head around to make sure the mount stays in place and doesn’t feel uncomfortable.
Chest Mount
- Put on the harness: Adjust the straps so the harness fits comfortably over your chest.
- Attach the mount: Clip the mount onto the harness and adjust the angle as needed.
- Check the fit: Move around and make sure the mount is secure and doesn’t bounce or shift.
Suction Cup Mount
- Clean the surface: Ensure the area where you’ll attach the suction cup is clean and dry.
- Apply the suction cup: Press the suction cup firmly onto the surface and twist the lock to secure it.
- Attach the mount: Slide the mount into the suction cup and adjust the angle.
- Test the hold: Gently pull on the mount to make sure it’s securely attached.
Tripod Mount
- Set up the tripod: Extend the legs and adjust the height as needed.
- Attach the mount: Screw the mount onto the top of the tripod.
- Adjust the angle: Use the tripod’s tilt and pan controls to get the perfect shot.
- Stabilize the tripod: Make sure the tripod is on a flat, stable surface to avoid any wobbling.
Step 4: Secure Your Action Camera to the Mount
With the mount in place, it’s time to attach your action camera. This step is straightforward, but it’s important to do it carefully to avoid any damage to your camera.
Attaching the Camera
- Open the mount: Depending on the type of mount, you may need to open a latch or unscrew a cap.
- Insert the camera: Place the camera into the mount, making sure it’s aligned correctly.
- Secure the camera: Close the latch or screw the cap back on. Make sure the camera is snug and doesn’t move around.
- Double-check the fit: Give the camera a gentle tug to ensure it’s securely fastened.
Tips for a Secure Fit
- Use the right adapter: Some mounts require an adapter to fit your camera. Make sure you have the correct one.
- Check the alignment: Ensure the camera is level and facing the direction you want to capture.
- Tighten all screws: Double-check that all screws and latches are tight and secure.
Step 5: Test and Adjust Your Setup
The final step is to test your setup and make any necessary adjustments. This is a crucial step to ensure you get the best possible footage.
Testing Your Setup
- Turn on the camera: Power up your action camera and make sure it’s recording.
- Move around: Perform the activity you plan to record. For example, if you’re mounting it on a bike, take a short ride.
- Review the footage: Stop and review the footage to see how it looks. Check for any shaking, blurriness, or unwanted angles.
- Make adjustments: If you notice any issues, make the necessary adjustments. This might mean repositioning the mount, tightening screws, or adjusting the camera’s settings.
Final Tips for Optimal Footage
- Use a stabilizer: If you’re experiencing a lot of shaking, consider using a stabilizer or gimbal.
- Experiment with angles: Don’t be afraid to try different angles to find the most interesting and dynamic shots.
- Check the battery and storage: Make sure your camera has enough battery life and storage space for your entire activity.
Conclusion
Setting up your action camera mount doesn’t have to be a daunting task. By following these five easy steps, you can ensure your camera is securely mounted and ready to capture all your adventures. Remember to choose the right mount, gather your tools, attach the mount to your surface, secure your camera, and test your setup. With a little practice, you’ll be a pro in no time.
Happy filming, and don’t forget to share your amazing footage with friends and family! If you have any questions or tips of your own, feel free to leave them in the comments below. We’d love to hear from you!


Leave A Comment