
Capture Unique Bike Ride Perspectives with Your GoPro Mount
If you’re a cycling enthusiast, you know that there’s nothing quite like the thrill of a bike ride. Whether you’re cruising through city streets, tackling mountain trails, or just enjoying a leisurely ride in the park, capturing those moments can make them even more special. That’s where a GoPro bike mount comes in. With the right setup, you can record unique and exciting perspectives that will bring your rides to life. Let’s dive into how you can make the most of your GoPro bike mount and capture some truly amazing footage.
Why Use a GoPro Bike Mount?
Before we get into the nitty-gritty, let’s talk about why a GoPro bike mount is such a great investment. First and foremost, it allows you to record your rides from a first-person perspective. This means you can share your experiences with friends and family, or even use the footage to analyze and improve your technique. Plus, it’s a fun way to relive your adventures and maybe even inspire others to get out and ride.
Key Benefits of Using a GoPro Bike Mount
- First-Person Perspective: See the world as you do while riding.
- Hands-Free Recording: No need to hold the camera; focus on the ride.
- Versatile Mounting Options: Place the camera in different positions for varied shots.
- Durability: GoPros are built tough, perfect for outdoor activities.
Choosing the Right GoPro Bike Mount
There are several types of GoPro bike mounts available, each with its own set of features and benefits. Here’s a quick rundown of the most popular options:
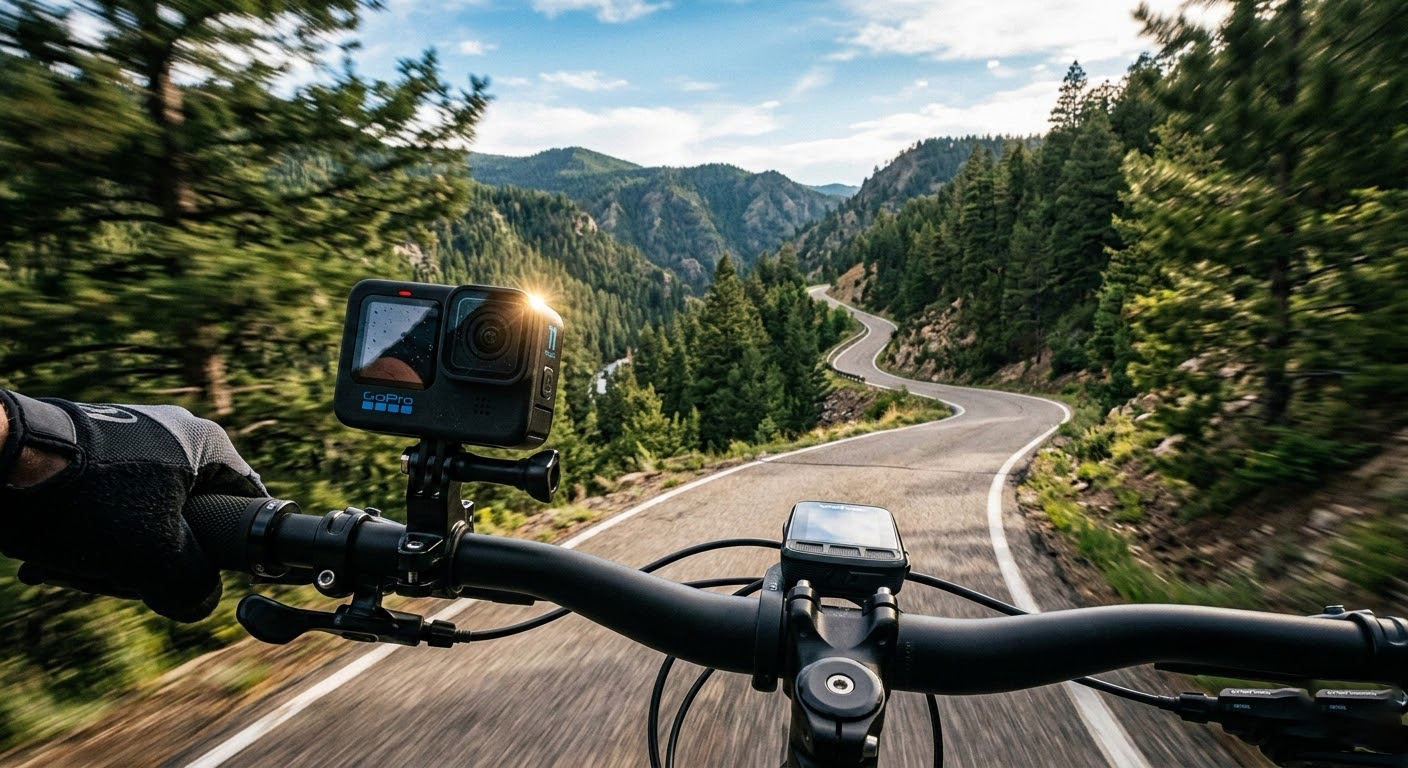
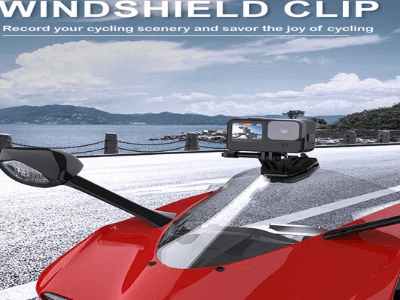
- Handlebar Mount: This is one of the most common and versatile mounts. It attaches to the handlebars and provides a stable, front-facing view. Perfect for capturing the road ahead and your surroundings.
- Helmet Mount: If you want a more immersive, first-person perspective, a helmet mount is the way to go. It gives you a point-of-view (POV) shot that feels like the viewer is right there with you.
- Chest Mount: For a slightly lower and more stable angle, a chest mount is ideal. It’s great for capturing the action without the jarring movements that can come with a helmet mount.
- Seat Post Mount: This mount is less common but can be useful for capturing rear-facing shots. It’s a good option if you want to see what’s happening behind you.
Tips for Choosing the Best Mount
- Consider Your Riding Style: If you’re a mountain biker, a helmet or chest mount might be better for capturing the rugged terrain. For road cyclists, a handlebar mount is often the best choice.
- Think About Stability: The more stable the mount, the smoother the footage. Chest and seat post mounts tend to be more stable than helmet mounts.
- Ease of Use: Choose a mount that’s easy to attach and remove, especially if you plan to use it frequently.
Setting Up Your GoPro for Optimal Performance
Once you’ve chosen the right mount, it’s time to set up your GoPro for the best possible footage. Here are some tips to help you get started:
1. Positioning the Camera
- Front-Facing View: For a classic, forward-facing shot, position the camera on the handlebars or helmet. Make sure it’s centered and level.
- Side View: If you want to capture the side of your bike or the landscape, consider using a clamp mount on the frame or a secondary handlebar mount.
- Rear View: A seat post mount is perfect for this. It can be useful for safety and for capturing the scenery behind you.
2. Adjusting the Settings
- Resolution and Frame Rate: For smooth, high-quality footage, set your GoPro to 1080p at 60 frames per second (fps). If you have a newer model, 4K at 30 fps is also a great option.
- Field of View (FOV): The FOV determines how much of the scene is captured. A wide FOV is great for capturing more of the environment, while a narrow FOV is better for focusing on specific details.
- Stabilization: Turn on the electronic image stabilization (EIS) feature to reduce shakiness. This is especially important if you’re using a helmet mount.
3. Checking the Angle
- Test Shots: Before you start your ride, take a few test shots to make sure the angle is right. You can do this by recording a short clip and reviewing it on your phone or the GoPro itself.
- Adjust as Needed: If the angle isn’t quite right, make small adjustments until you’re happy with the view.
Capturing Unique and Engaging Footage
Now that you have your GoPro set up, it’s time to hit the road and start capturing some amazing footage. Here are some creative ideas to help you get the most out of your rides:
1. Mix Up Your Angles
Don’t be afraid to experiment with different angles. Try mounting the camera in various positions to get a variety of shots. For example, you could start with a front-facing view, switch to a side view, and then finish with a rear view. This will keep your footage interesting and engaging.
2. Capture the Details
Sometimes, the most interesting footage comes from the little details. Use the GoPro’s close-up capabilities to capture the intricate mechanisms of your bike, the texture of the road, or the beautiful scenery around you. These small details can add a lot of depth to your videos.
3. Tell a Story
Think about the story you want to tell with your footage. Are you documenting a challenging ride, exploring a new trail, or just enjoying a casual day out? Use your GoPro to capture the journey, not just the destination. Include shots of your preparation, the ride itself, and the aftermath. This will give your viewers a complete picture of your experience.
4. Add Some Context
To make your footage more engaging, consider adding some context. You can do this by narrating your ride, adding text overlays, or even editing in some music. This will help your viewers understand what’s happening and make the video more enjoyable to watch.
5. Share Your Footage
Once you’ve captured your footage, it’s time to share it with the world. Upload your videos to platforms like YouTube, Instagram, or Facebook. You can also share them with friends and family, or even create a vlog to document your cycling adventures. The more you share, the more people will be inspired to get out and ride.
Editing Your GoPro Footage
Editing your footage is an important step in creating a polished and engaging video. Here are some tips to help you get started:
1. Use a Good Editing Software
There are many video editing software options available, both free and paid. Some popular choices include Adobe Premiere Pro, Final Cut Pro, and iMovie. If you’re just starting out, iMovie is a great, user-friendly option.
2. Trim and Cut
Start by trimming and cutting your footage to remove any unnecessary parts. Keep only the best and most interesting clips. This will make your video more concise and engaging.
3. Add Transitions
Transitions can help smooth out the flow of your video. Use simple transitions like fades or dissolves to move between clips. Avoid overusing flashy transitions, as they can be distracting.
4. Incorporate Music
Adding music can greatly enhance the mood and energy of your video. Choose a track that fits the tone of your ride. Upbeat music works well for fast-paced rides, while something more mellow might be better for a scenic, leisurely ride.
5. Add Text and Effects
You can add text overlays to provide context or highlight specific moments. For example, you could add the name of the trail, the date of the ride, or a brief description of what’s happening. You can also add effects like slow motion or speed ramping to emphasize certain parts of the footage.
6. Export and Share
Once you’re happy with your edits, export your video in the desired format and resolution. Then, share it on your preferred platform. Don’t forget to add a catchy title and a brief description to entice viewers to watch.
Conclusion
Using a GoPro bike mount is a fantastic way to capture unique and engaging footage of your rides. By choosing the right mount, setting up your GoPro properly, and experimenting with different angles and editing techniques, you can create videos that are both entertaining and inspiring. So, grab your GoPro, hit the road, and start capturing those unforgettable moments. Happy riding!
I hope you found this guide helpful! If you have any questions or want to share your own GoPro bike mount experiences, feel free to leave a comment below. Happy filming!


Leave A Comment